Portlet preferences is a feature of Liferay to store portlet level configuration data. These data are stored in the database. We can also store Portlet Preferences as key-value pair using portlet.xml file or PortletPreferences class. In this blog we will discuss about storing portlet preferences.
There are two ways of adding portlet preferences,
i. PortletPreference Interface
ii. Portlet.xml
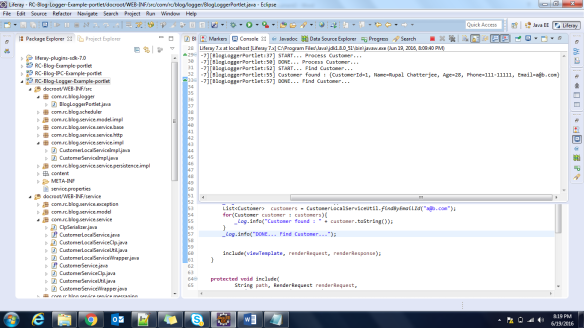
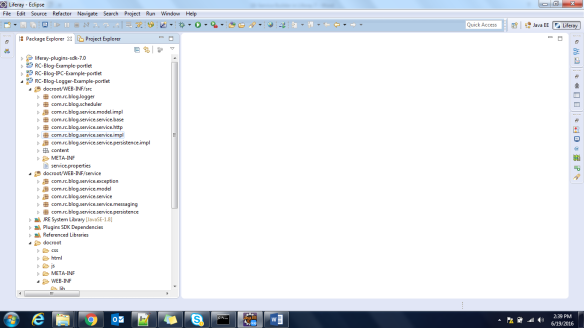
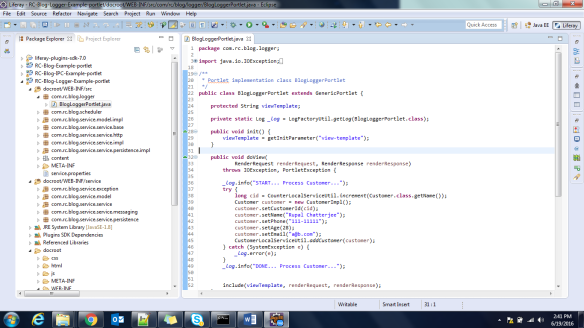
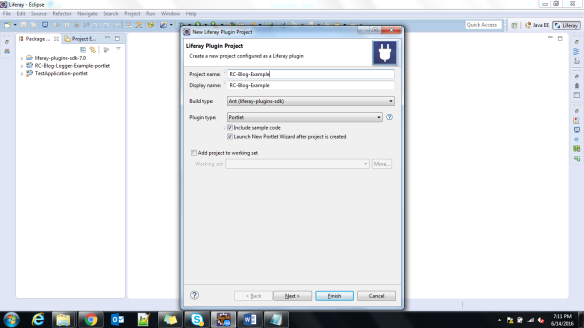
1. We will use the same liferay project that we created while demonstrating the logger example. i.e. Using logger in Liferay 7
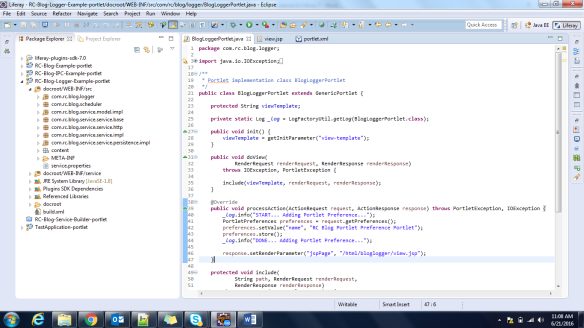
2. Add the below code in the controller. This code snippet will add a portlet preference “name” with PortletPreference interface on click of ,
@Override
public void processAction(ActionRequest request, ActionResponse response) throws PortletException, IOException {
_log.info("START... Adding Portlet Preference...");
PortletPreferences preferences = request.getPreferences();
preferences.setValue("name", "RC Blog Portlet Preference Portlet");
preferences.store();
_log.info("DONE... Adding Portlet Preference...");

response.setRenderParameter("jspPage", "/html/bloglogger/view.jsp");
}
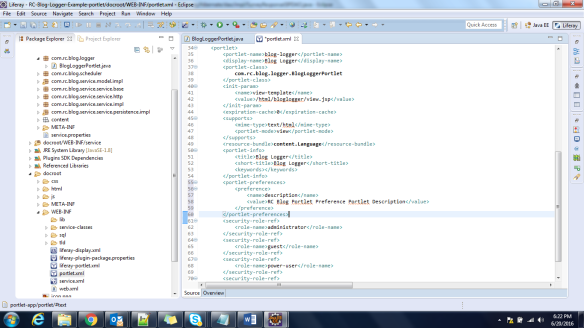
3. Now let’s add another preference using portlet.xml. Add the below snippet in portlet.xml,
<portlet-preferences>
<preference>
<name>description</name>
<value>RC Blog Portlet Preference Portlet Description</value>
</preference>
</portlet-preferences>
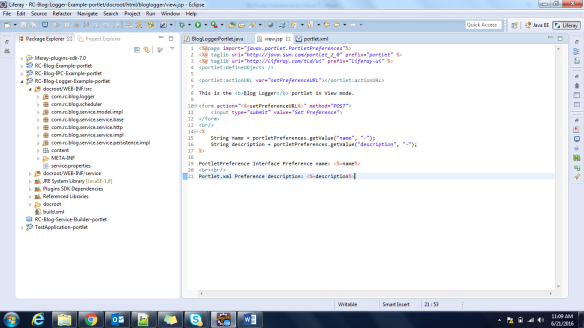
4. We are now done with adding portlet preferences using both PortletPreference and portlet.xml file. Now let’s retrieve those preferences in view.jsp. Add the below code snippet in view.jsp file,
<%@page import="javax.portlet.PortletPreferences"%>
<%@ taglib uri="http://java.sun.com/portlet_2_0" prefix="portlet" %>
<%@ taglib uri="http://liferay.com/tld/ui" prefix="liferay-ui" %>
<portlet:defineObjects />

<portlet:actionURL var="setPreferenceURL"></portlet:actionURL>

This is the <b>Blog Logger</b> portlet in View mode.

<form action="<%=setPreferenceURL%>" method="POST">
<input type="submit" value="Set Preference">
</form>


<%
String name = portletPreferences.getValue("name", "-");
String description = portletPreferences.getValue("description", "-");
%>

PortletPreference Interface Preference name: <%=name%>


Portlet.xml Preference description: <%=description%>
5. Let’s build and deploy the code. Then click on “Set Preference” button.
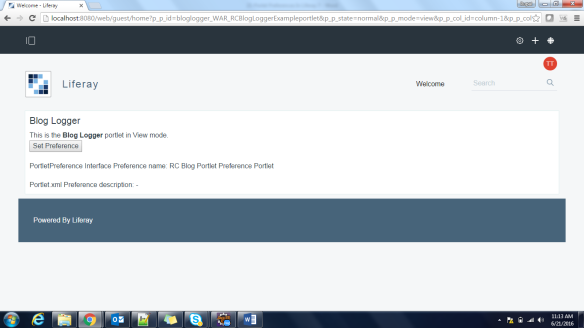
Please Note – Two important findings,
- Never use “preferences.store();” in a render cycle method e.g. doView. This will throw “java.lang.IllegalStateException – if this method is called inside a render call”. Click here for more details.
- As you can see, preference settings using portlet.xml is not working in Liferay 7. But we tested it in Liferay 6.2 and it works. It looks like a bug in Liferay 7 (Liferay Community Edition Portal 7.0.1 GA2 (Wilberforce / Build 7001 / June 10, 2016)).
Happy Coding… 🙂
Rupal Chatterjee
Sr. Associate Projects, Cognizant Technology Solutions
https://www.cognizant.com
Connect me on Google, Facebook